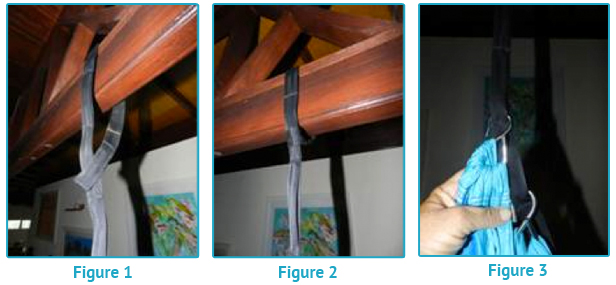
Method 1: Using existing exposed beams:
Important note: Hooks and/or straps should be inserted and/or hung apart no more, no less than 16″.
Firstly, select a safe spot where there is at least 1 meter of space in all directions. This is the minimal amount but more space is ideal. The wooden beam must be sturdy and free of termites. Test the strength of the beam if necessary by putting 2 people in the swing and testing.
Outside or under the porch or roof is an ideal location for the Swing. In the living room or bedroom is good too. A tree branch also makes a great beam.
Place a cloth over the beam where the rope drops over and down to the floor. (Over time the rope could become worn causing failure without this cloth.)
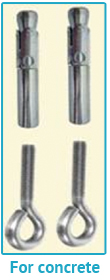
Method 2: Using wooden joists or a concrete ceiling:
Materials needed:
- Tape Measurer
- Either a stud finder or hammer with small nail
- Drill with 1/8 inch wood drill bit
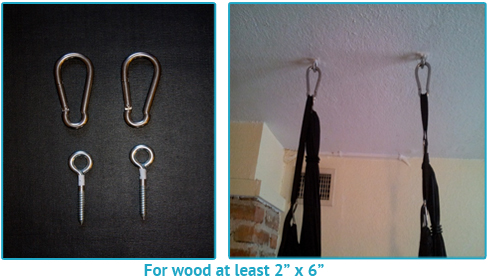
- (2) 3” Lag screw eye bolts rated for 250 pounds or more each
- (2) 8mm thick or ¼”thick steel hook of 8cm. Hooks are available at local building supply stores.
- Ladder or chair to stand on
Locate 2 parallel hidden support beams (joists) that you would like to use for setup. You can do this by tapping a small nail into the ceiling or by using a stud finder. *Support beams are usually 16 inches apart. You can put one eye bolt in each beam to maximize support strength. If you are at all unsure of the strength of your indoor overhead support due to water damage, termites, or any other reason, please seek professional assistance before setting up the Inversion Sling. Note: Support beams are strongest when they are closest to the wall. Look for an area that will allow you to move freely, at least 2 feet of space on each side
Locate the center line of each support beam. Positioning the eye bolts in the center line of the beam is a must to maximize the weight-bearing capacity of the hidden beam. Mark two points on the ceiling for drilling. They should both be in the center line of the beam.
With a wood drill bit, drill 1/8 inch holes at the marked points. Make sure the holes are drilled 5-6 inches deep and perpendicular to the ceiling.
Screw the lag screw eye bolt in, until all threads have disappeared into the holes. Do not loosen them or adjust them once in place.
Hook one end of the black adjustment strap into the steel hook and then place the steel hook into one of the eye bolt. Repeat this with the remaining black adjustment strap, hook, and eyebolt.
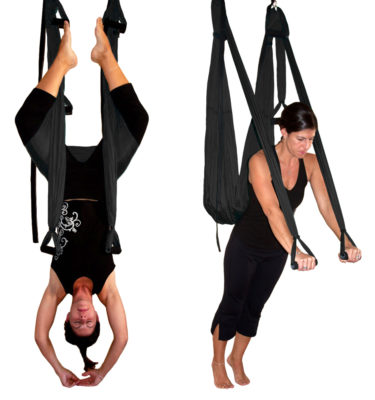
Hook each “S” hook of your Sling in the steel hook or directly above the desired notch of your choice on the black adjustment straps. Repeat to hang the handle sets. For optimal and varied use, hang only the sling or just the handle sets at your discretion.
Check bolts, adjustment strap, and all components of the Inversion Sling before every use. Should bolts loosen or change position over time, discontinue use immediately.


